Facebook Instagram Bloglovin' Image Map
Showing posts with label back to school. Show all posts

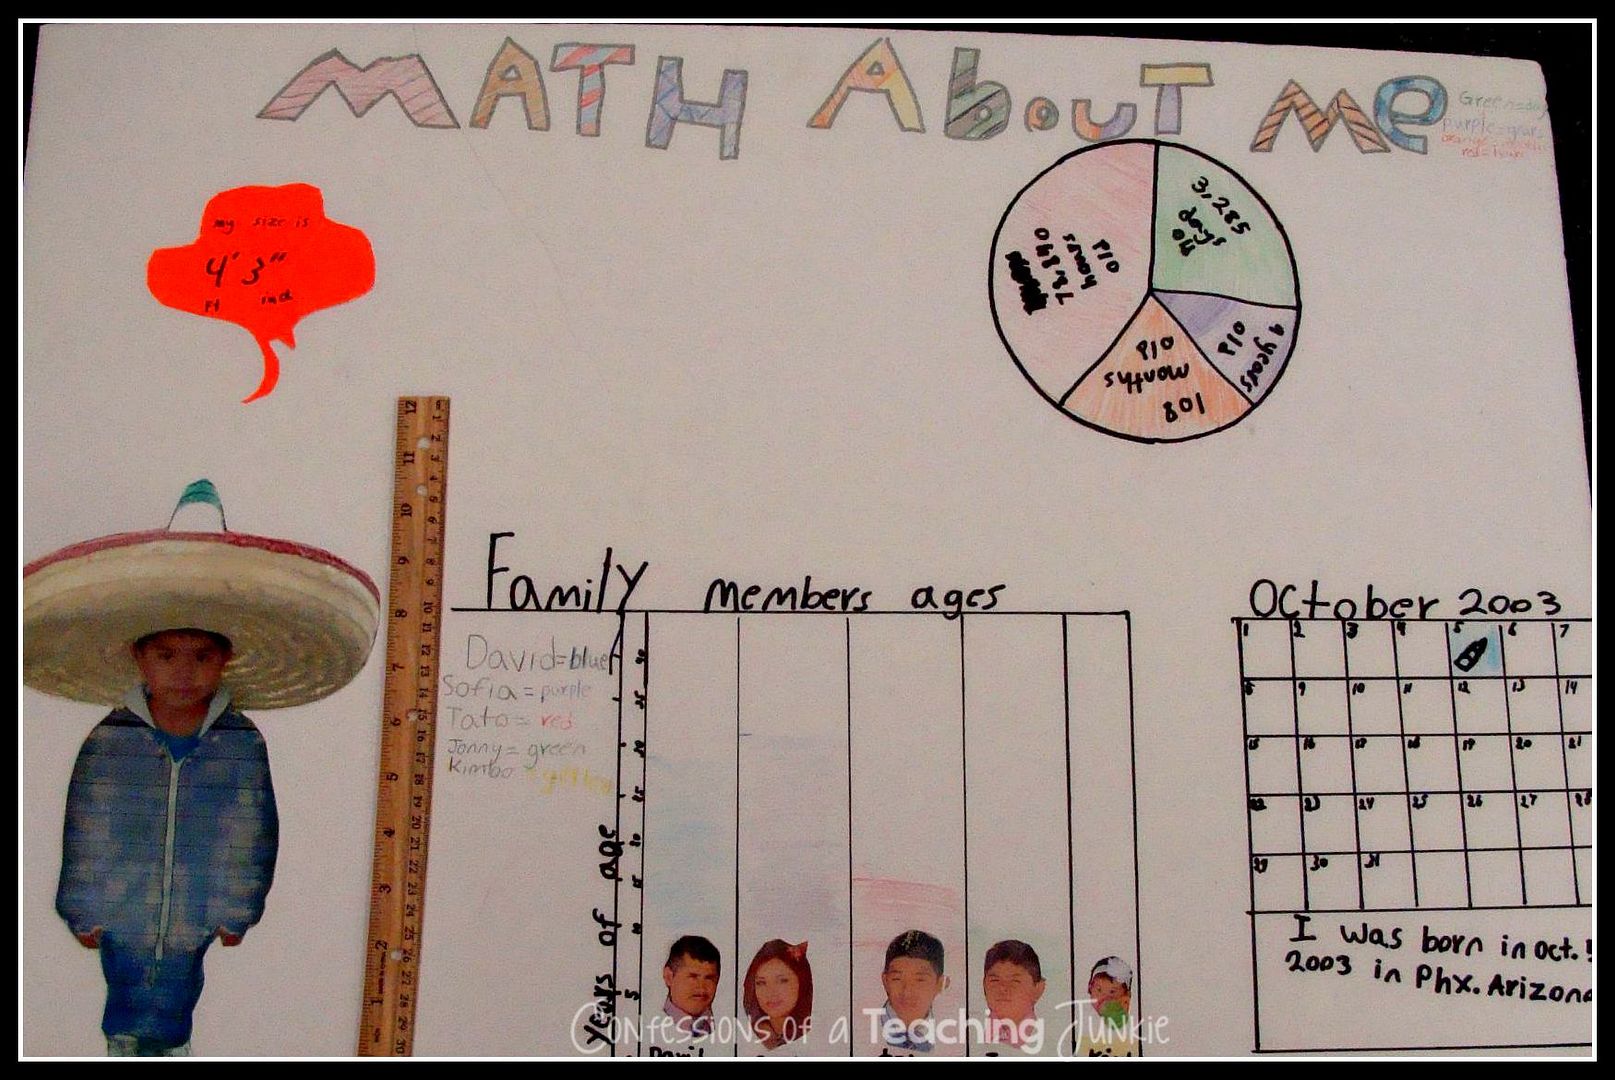
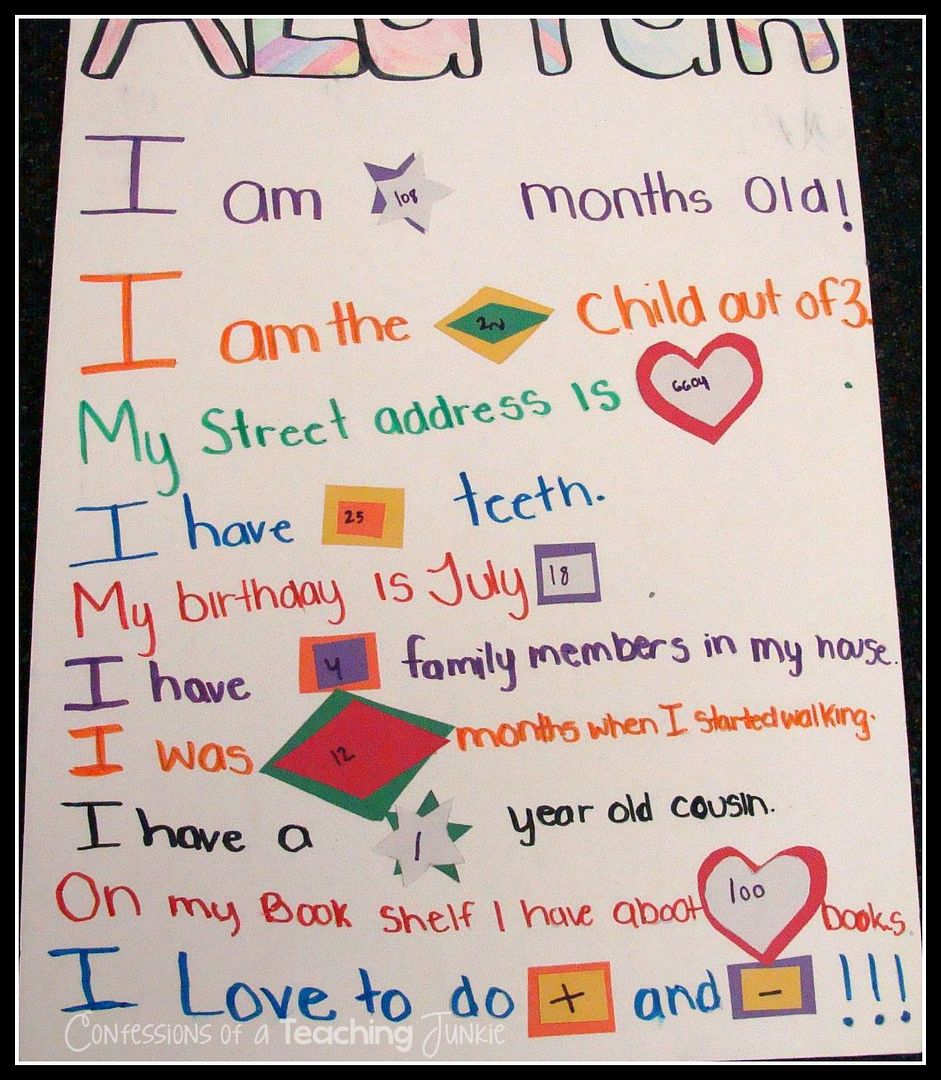
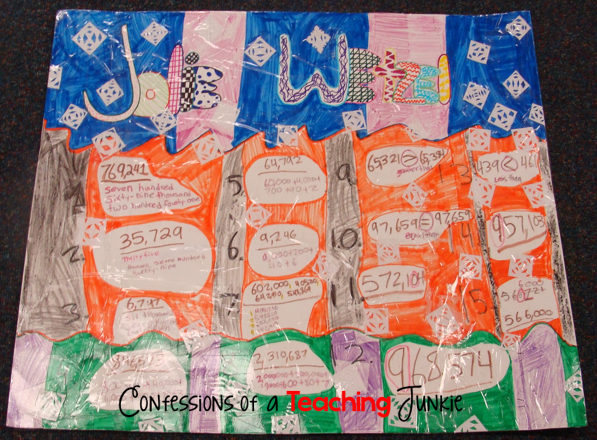
Back-to-School With a Math About Me Project

I love getting to know my new students every year.
As a beginning of the year getting to know you activity 


The kids had great fun and loved working on the project.
They took turns and presented their poster to the class for a
Speaking and Listening grade too!

I had all of the poster on display for our Curriculum Night, a couple of weeks into school.
The parents really liked them too.
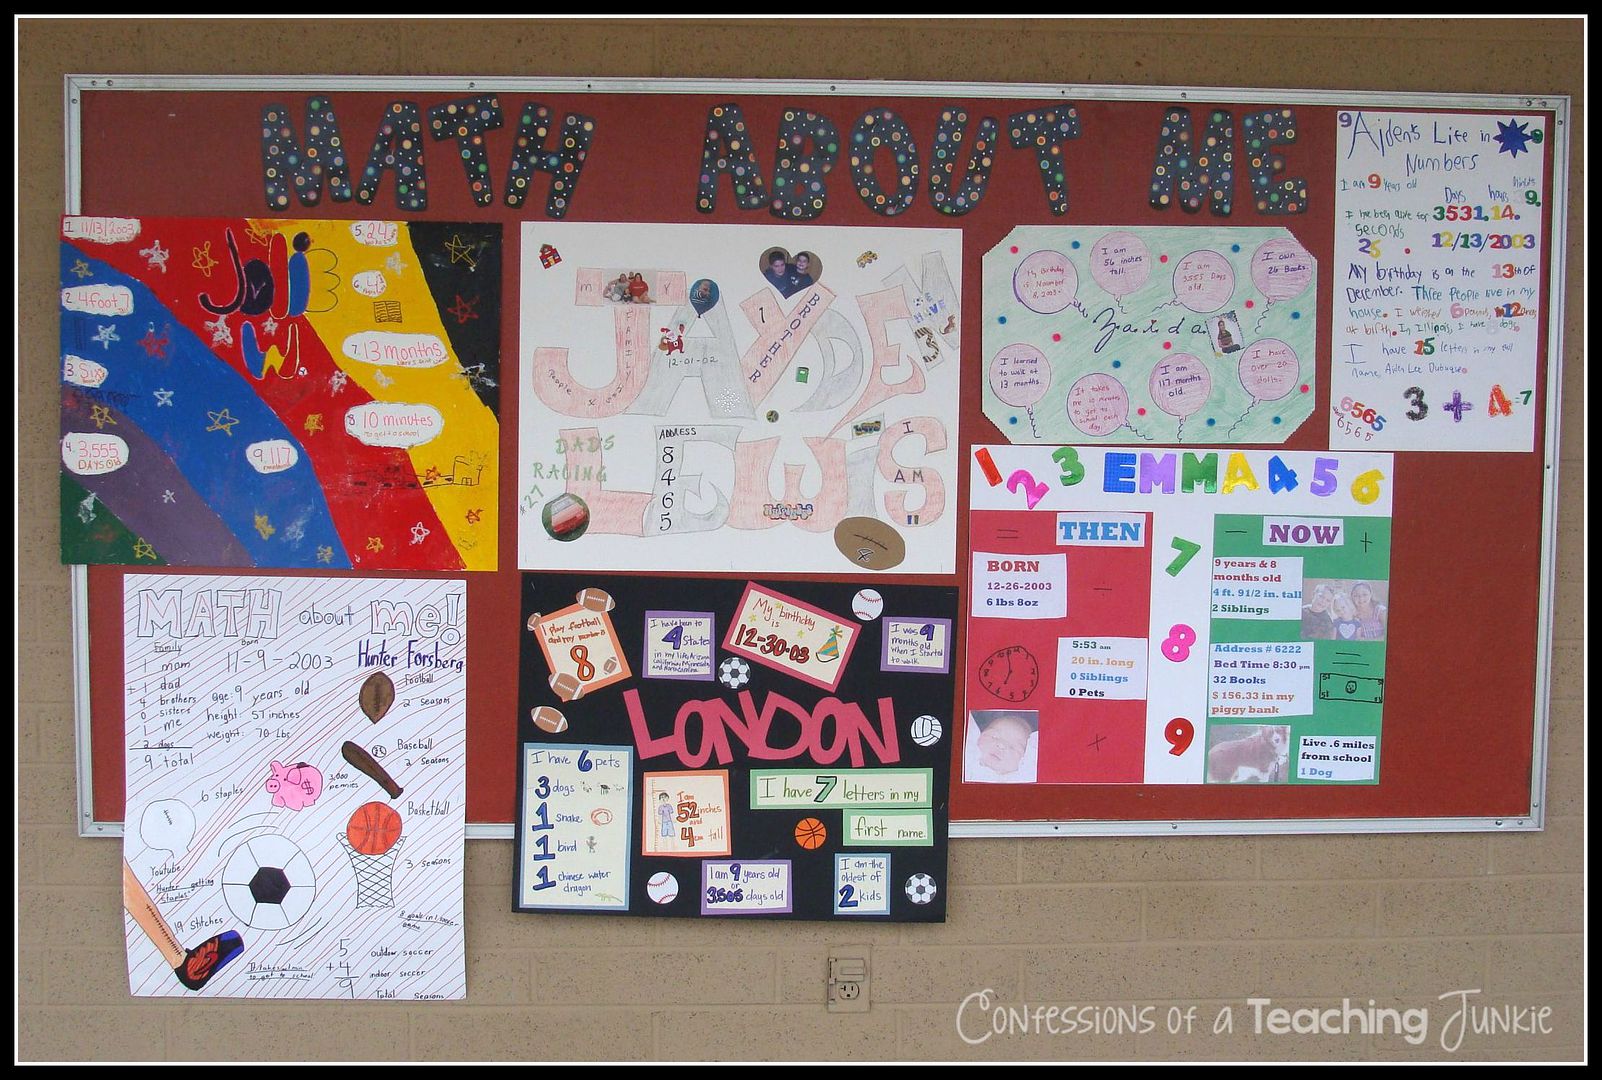
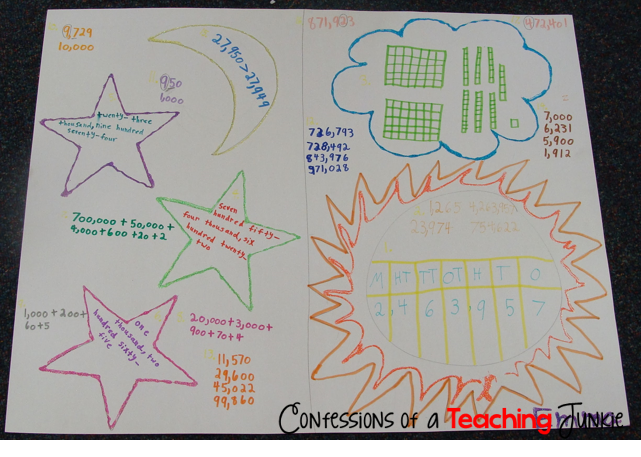
Here is the bulletin board outside my classroom where I hung a few,


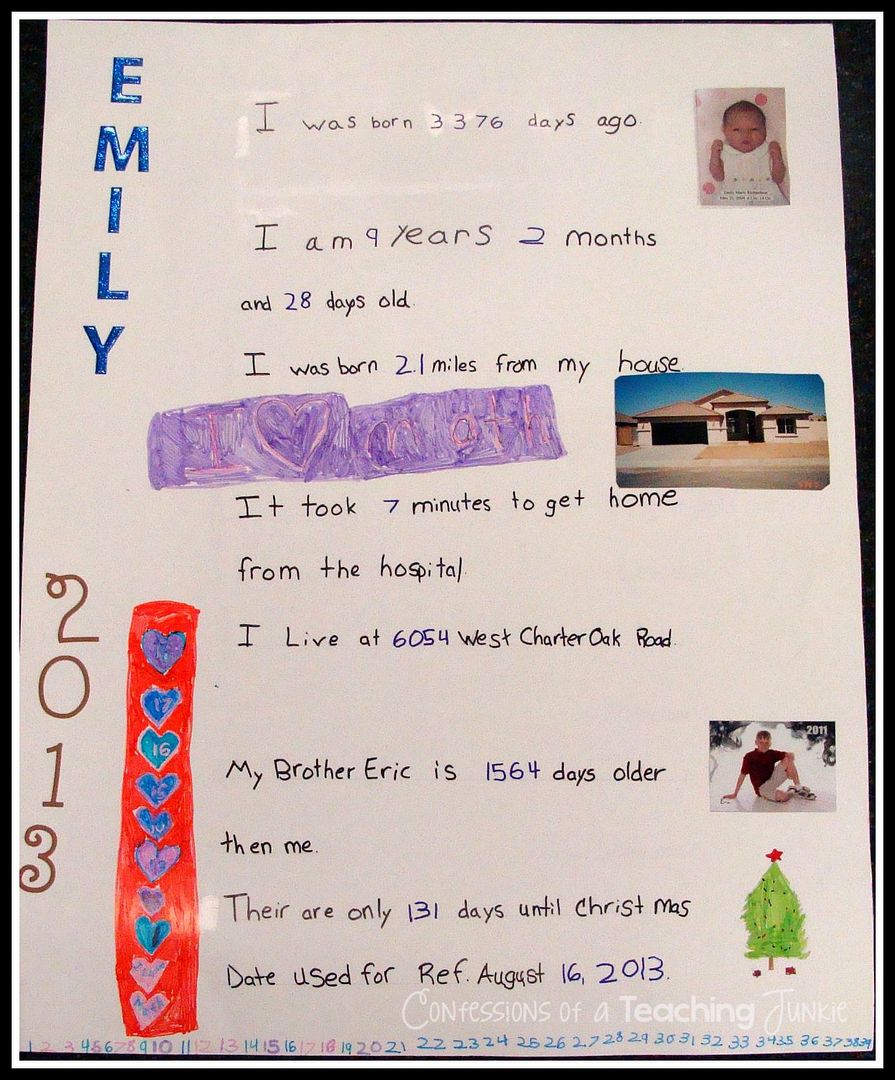
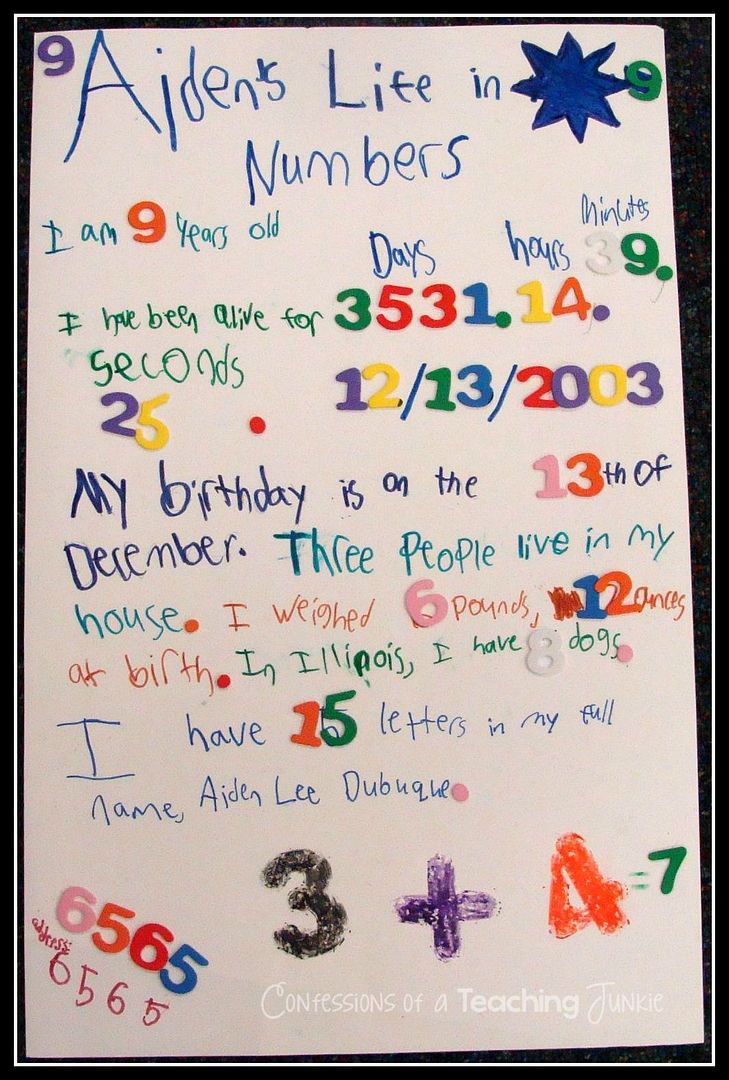
and here are some of the rest.


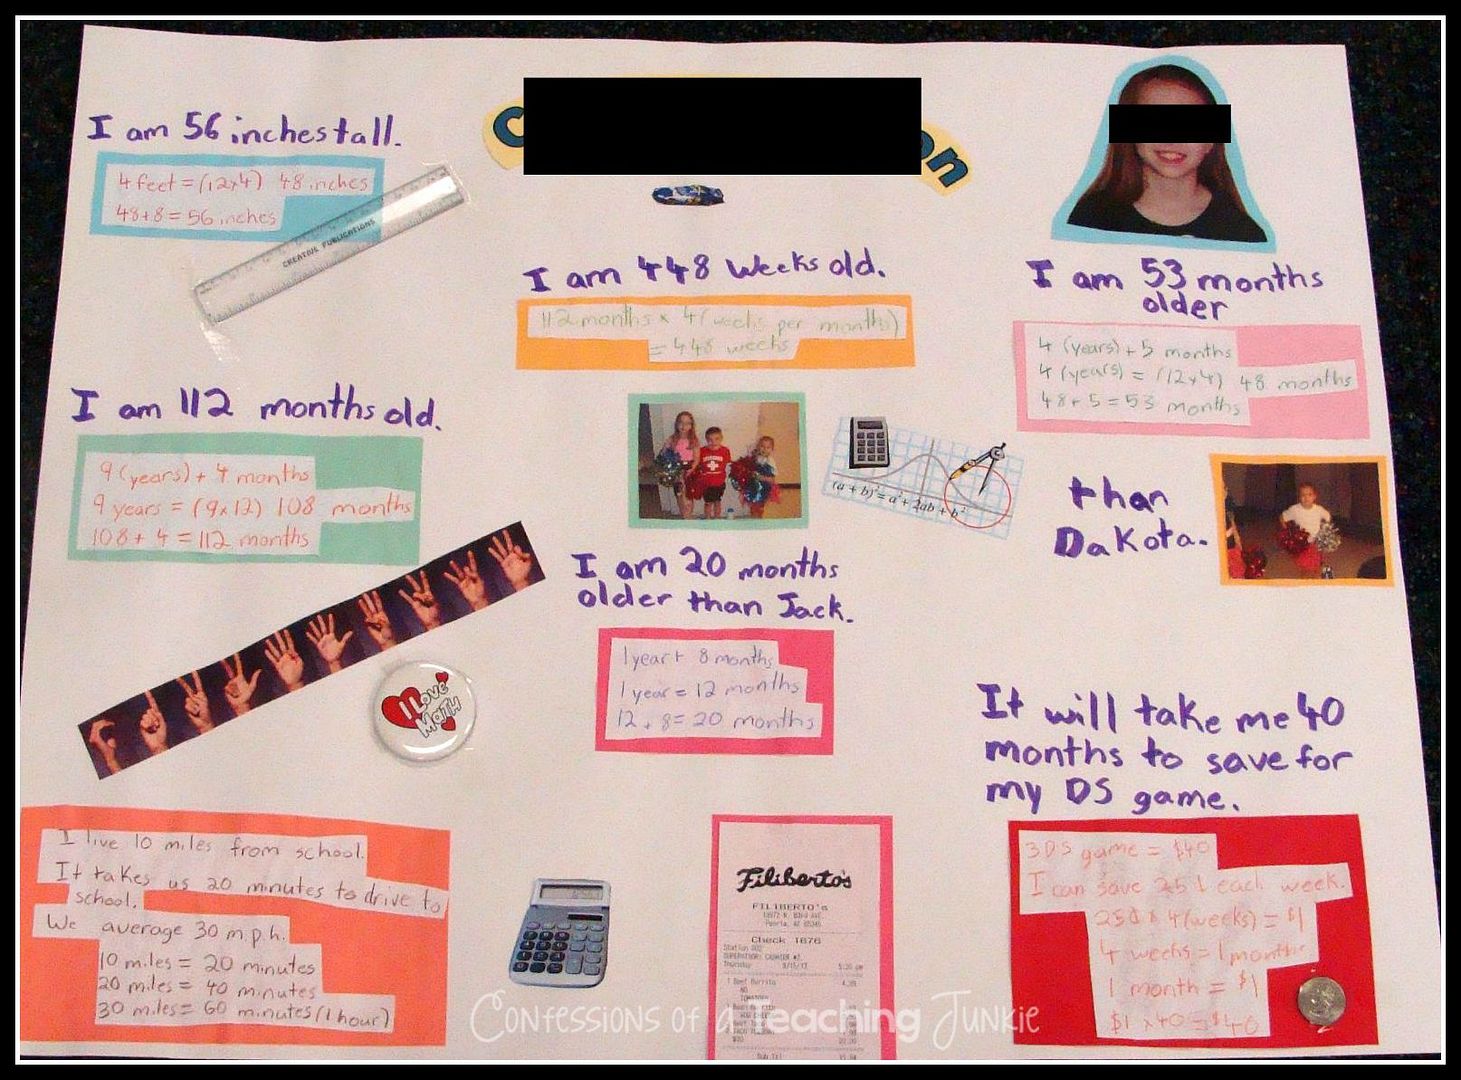
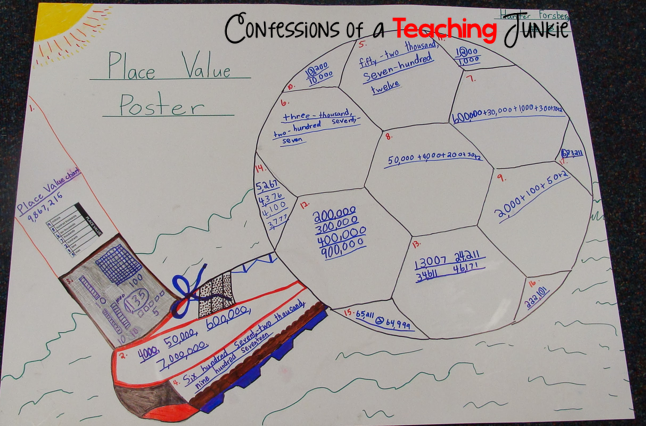
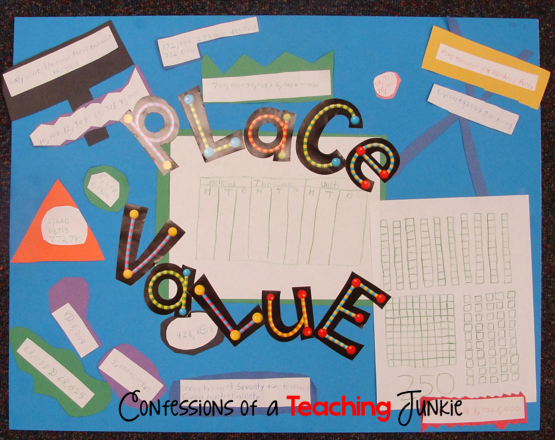
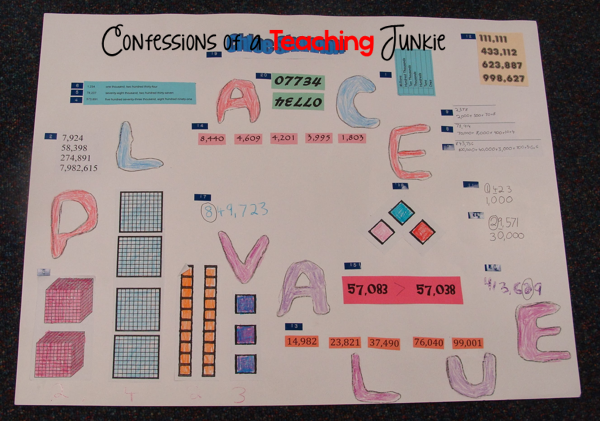
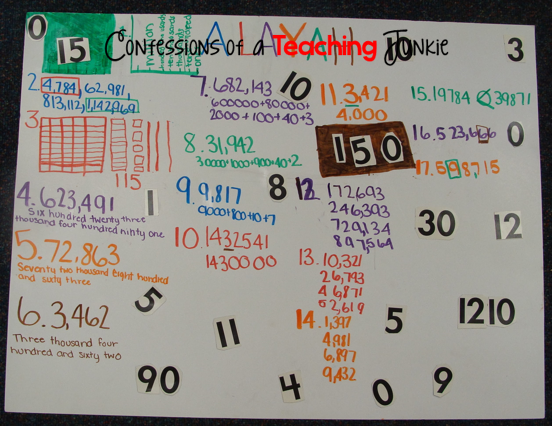
They were such a hit that I also created a project for the end of a place value unit.


Here are some of my favorites from the project.


Both files come with student directions and grading rubrics.  They make great project with which to decorate your classroom or display at the beginning of the year and get the kids off to a great creative start.

You can grab both of these files from my TPT store by clicking on the images.

Back to School Night Organiztion


Hello,

For the last few years I have been blessed with an amazing teaching partner. One of the things that we both have in common is a nervousness when speaking to parents. This makes back to school night very stressful so we have always gone a little overboard in organizing our thoughts for the parents. We started with a PowerPoint presentation that has morphed its way into a very detailed packet that we send home with parents. This allows us to talk as little or as much as we feel comfortable with and still give the parents the information that they need.

We go first grade all the way and align our thoughts with the ABC’s. Using the ABC’s allows us to cover a wide range of material: attendance, curriculum, field trips, volunteers, etc. and have it look really organized at the same time. We do add 2 S's to the alphabet because we really wanted to break Social Studies, Science, and Spelling information apart. We love this format and our parents seem to appreciate all the information that they get to take home and keep on hand. After the ABC’s section we have a page for special notes, a page for our classroom schedules, and a page for the grading scale. The letter for the grading scale was one of several additions to the packet this year. We were able to change our first graders to an OSN grading scale versus an ABC grading scale. I have included images below of our packet below so you can get an idea of what I am talking about.


An advantage to having a packet to hand to parents is they have all the important information in writing. They aren’t just relying on our nervous words during a presentation. This is helpful especially when you add things like not responding to emails on weekends or after a certain in the evening so that you can be with family. Major things like that are in writing so that they aren’t questioning whether they heard you right or because they forget half of what you tell them by the time they drive home because their life can be just as crazy as ours.

Thanks for reading about how my partner and I organize our thoughts for back to school night!


Library Book Bins

The books that were so well loved in my classroom needed to find a home in my new library.  I didn't want the books to get lost on the shelves, and I didn't have money for a book browser.  As my husband and I were talking about building a book browser that fit on the library shelf, I made the decision to bring my classroom book organization into the library.


Two years ago, I bought ice bins from Wal-Mart so I could store my books in my classroom.  I didn't have $4 per bin to spend, so the allure of the under $2 price point was overwhelming.  I seriously drove to three local stores in order to outfit my classroom.  The cashiers would look at me like I was crazy when I walked up with ten ice bins in my arms.

I decided to label the bins and the books in order to keep it organized.  I labeled the fiction bins by the first letter in the author's last name, and the non-fiction bins to the 100 in the Dewey Decimal System.


I then put a label on the front of the book so the students could put the book back in the correct bin.

We went over procedures on how to go "book shopping", and they were ready to go.  While the section was meant for kindergartners, I see all of the kids "shopping" in the bins.  They are easy to look through and the books catch your eye.  Those white ice bins were the best purchase I ever made to organize the classroom.  Four years later, and they are still holding strong.

Happy back to school season!

Organized Materials

My first day of school was YESTERDAY!!  I was so excited that we started on a Wednesday this year!!  My goal this year is to stay super organized, and stay on top of things so they don't pile up!!


I blogged all about my new way I am planning this year here and I have to say it is working super well so far!!


Today I am excited to share with you all about how I am staying organized in my classroom!!  I am soooo excited because I have a teaching partner this year!  She is AMAZING and a total blessing!!

We have worked together a TON this summer to get ready for our school year, so some of the pictures you see are from both of our rooms!


To help keep my personal weekly copies organized I used this rolling cart from Michaels!  I LOVE it!!  I used it last year to hold my math manipulatives, hence the tags on the right side of the drawers. These awesome tags are from the Target Dollar Spot, and they are white board stickers!  I can erase them and reuse this for something else if this doesn't work!!

I am using the bottom drawer to hold all of my copies I need for the next week as we collect them.  We are SUPER blessed because on Wednesdays MY MOM will be coming into my classroom to help us!!  I am using these awesome copy notes from Just A Primary Girl too!  They are amazing, and will save your life!!


To help students stay organized this year we bought bins to match our classroom colors.  All students in my homeroom will also be in the green bins.  Students in my teaching partner's class will also be in the blue bins.  Then we have their workbooks numbered, and their numbers are also in our coordinating colors.  For their workbooks I made name tags that they are decorating before we use packing tape to attach them to the notebooks.


We're doing the same thing with their notebooks for science, social studies and math.  These bins are in my classroom, so they know exactly where they will put their notebooks.  Plus we have the subjects different colors to help them also know which notebooks should go in which bins.


To help with passing out papers we decided to have one central location for us to return papers to both classes.  We numbered each section with our class colors, and just used numbers.  This way we don't have to do it again next year with names.  The top half is for my partner's class, and the bottom half is my class.  The blue bucket on the top is where we will put their work that needs to be filed.

I hope that you have some awesome organization in your room too!  How do you return student work, or keep it organized until it's time to return it?!  I would love to hear what you do!

Make sure to come back all month where you can find out some more awesome organization tricks from the amazing Hello Sunshine bloggers!


The Great File Cabinet Debate

I’m glad that this month on Hello Sunshine is all about organization, because quite frankly…I could use some help.  Organization is not my strong suit, which is kind of funny because in all of my letters that I received for my teaching award this year people commented on how organized I was.  Man do I have them all fooled! 


This year, however, will be different.  My motto this year is simplify and organize.  So on to the great debate….


Slide1


Over the years I have given both a try.  I was a binder girl for a while, then curriculum changed and I gave the filing cabinet a try again.  This year I am back to the binders.  I started by creating a binder for each curriculum framework in each subject. 
 
Binder Covers


I created these binder covers in Power Point using my favorite Melonheadz clip art and some cute backgrounds from I Teach, What’s Your Super Power?  I decided against printing them in color because of the cost and decided to just print each subject on a different color of paper.


Slide2


I like that everything I need is in the binder or file and both are easy to take home if I need to do some planning from home. 


Slide3


Now, when it’s time to make copies for the week I can just grab the papers out of the pocket and send them to the copy room.  My hope is that by putting in a little time organizing now and throughout the year it will make the years ahead that much smoother!  That’s my plan anyway! 


 I’d love to hear how you plan on organizing this year.  Are you a binder or file cabinet teacher?  Why?  I’d love to hear your thoughts. Like I said, I’m a little organizationally challenged and I can use all the help I can get!


Blessings,
Jennifer

Organizing Lesson Plans, Materials, and Center Activities for the Year

Happy August! All this month, the Hello Sunshine collaborators will be sharing some great organizational tips and tricks for your classroom! I'm kicking off this month's theme by sharing just a few ideas for organizing classroom resources, including my center buckets! There's a freebie for organizational labels in here, too, so make sure you read the entire post so you can download them and use them in your classroom!

ORGANIZING LESSON PLANS & DAILY MATERIALS

When I first started teaching, I "organized" (and I use that term loosely) my daily lesson plan materials by putting all of my copies, books, and materials into a different manila file folder for each day of the week. It wasn't the most efficient organizational strategy in the world - the folder wasn't big enough to hold all of the day's materials and it was difficult to pull items out without bringing the rest of the papers with it. So one summer, I decided enough was enough and I invested in the All-Purpose Teacher's Organizer from Lakeshore. I can't say enough good things about this product. It comes with 5 bins, one for each day of the week, with 5 file folders to organize your daily materials. This meant that I could have one separate folder of items for Reading, Writing, Math, Science, and Social Studies! No more mixed up papers or materials falling out of folders. This thing keeps everything in order! And, if you're wondering, no I am not getting any sort of compensation for telling you about this organizer... ha! I just love it that much!!


ORGANIZING SCHOOL SUPPLIES

Organizing school supplies is always an issue that can easily get out of control... just ask any teacher! Or, just look at this plastic bin of mine after families donated supplies at Meet the Teacher Night:


Can you say... hot mess?!? Every time I needed a supply I'd have to go digging for buried treasure; and ain't nobody got time for that! I decided to purchase a big 5-drawer Sterilite container (about $25 at Wal-Mart) and sorted all of my extra supplies into each drawer. It made my life so much easier to have everything organized and in its place!


My students don't have access to this drawer - this is just where I keep my extra donated supplies and then I grab items from the drawers as needed. We do community supplies in my classroom; and each table has their own bucket of scissors, glue bottles, and glue sticks in a different colored caddy. Then, whenever they need them, one student will grab their individual table buckets. It makes things so much easier to have them all in one easy location for the students to get on their own.


ORGANIZING CENTER ACTIVITIES

Next up, let's talk center organization. I have so many amazing resources that I have both made myself and purchased from TPT. Most of them have lots of pieces to them: cards, spinners, recording sheets... the list goes on! When I first attempted to organize them, I used big manila envelopes and put all of the pieces inside. However, when I put all the envelopes in a big plastic bin, they'd fall and slide to the bottom and were slightly too big and too tall to fit nicely into the bucket. It got frustrating to look through and pick up each one that had fallen on top of one another and it just didn't work for me. Finally, I figured out a great way to organize all of my center activities:


As pictured above, here are the materials I used to get everything started: plastic hanging file folder bin, Post-It sticky tabs, hanging file folders, Ziploc gallon-sized bags, skinny Sharpie markers.

Here's what I did to put it all together: 

1. Sort center activities in whatever way helps you organize them the most. In my case, I chose to sort them by concept/theme (sight words, sentence building, October/Fall, etc.). I got to work putting together the hanging file folders first. I filled in each tab with the learning concept so that I would know exactly where to find centers that matched each standard.


2. Get one of the Ziploc gallon bags. This is what you'll use to store each center so the parts and pieces don't get away from you. I put the recording sheet (if it had one) and any game pieces or cards that went along with it.


3. Use a Post-It sticky tab to write the name of the center, and the creator's name, if you'd like. For this beginning sounds center, which can be found in Cara Carroll's The Bus Stops Here {Math and Literacy Centers} pack, I wrote the name of the activity and put a little "CC" at the end so that I knew it was from her store. This is helpful in case you ever find yourself looking for a specific author's center activity. I used a skinny Sharpie marker so that I could fit as much information on the tab as I needed to without it looking too sloppy.


Once you've done that... you're finished! Just pop the finished bag into the correct standard/themed tabbed folder and you've got yourself a gloriously organized tub of centers.


I love that these tubs have lids so that I can stack them anywhere I need to. I've got two of them so far, but both are getting pretty full! It's almost going to be time for me to make a third tub of centers!

ORGANIZING WITH LABELS

Finally, one of the ways teachers most love to show their organized selves off in the classroom is by using cute labels! A label added to any bin or bucket is the perfect way to add a cute and functional way to organize materials, supplies, and resources. Here's an example of what my labeled bins look like in my classroom:


You can grab these labels and more for FREE in my TPT store! Just click on the picture below to download!

 photo ClassroomLabelscoverpage_zps1ad16802.png

Keep coming back all month for more classroom organization ideas!